Section 2.1 - Connecting To A Perseus
The low-level serial drivers required to communicate with the Perseus are automatically included with every installation of Windows. If you are using a RS 232 to USB line the driver will install from the INTERNET when the cable is first plugged in. Note this program uses an ASCOM local server driver so multiple clients can be connected at the same time.
- Connect Your Switch - The device shares the same plug-and-play connection interface as a typical mouse or keyboard. When the device is connected, the operating system will detect it and configure the driver automatically if necessary. Note this program uses an ASCOM local server driver so multiple clients can be connected at the same time.
- Open The Control Program
- Connecting - Once the program is open you need to select the COM port. Under setup hit the settings button to open the device. This interface should appear:

- Select the device Comm Port from the drop down box. If you do not see the device check your power and cables and then click the Refresh button.
- If you want to change the Names of your ports Click the Names button and follow the instructions.
- If you want verbose ASCOM logging (only needed if you are having problems with the software) check the Trace on box.
- Press OK when all of you settings are correct.
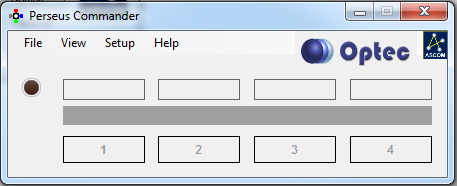
- Then to connect you can click the circle on the left main program screen or select connect from the file menu.

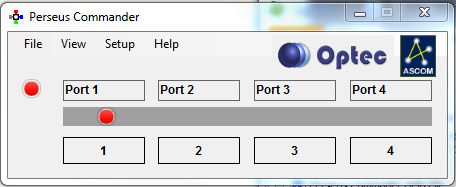
- Once connected the circle will light up red, the port names will appear and circle will appear over the current port.

- If any connected client (or the device switch) changes the port the indicator icon will move to the current port.
- Under View you can switch this to night vision mode or make this form appear on top of all other forms.


